|
|
||
|
|
|
Westchester Web Design |
The
purpose of sub-frame connectors are to stiffen up the chassis,reducing
unwanted flex,and give you more predictable handling.
before we start,i'm using BBK bolt in sub-frame connectors.these are
much better than none at all.Weld in full length sub frame connectors
are the #1 choice for sub frames.i chose the BBK's because i don't
know how to weld yet,and i prefer to do as much work myself as i can.the
BBK's can also be welded in,and at first i was going to have them
welded after i bolted them up. i'll see how they feel first before
i make my decision.
------------------------------TOOL'S NEEDED------------------------------------------------
1-set BBK bolt in sub-frame connectors W/seat supports(#BBK2543-brothersperformance.com.$129.99,about
$155 shipped in california)
1-jack
4-jack stand's
1-drill
3-3/8 drill bit's
1-hacksaw
1-3/8 ratchet
1-1/2 ratchet
1-1/4 ratchet
1-22mm combo wrench
1-9/16 combo wrench
1-long 1/2 extension
1-small 3/8 extension
1-18mm,1/2 deep socket
1-1/2,3/8 deep socket
1-11/16,3/8 socket
1-9/16,3/8 deep socket
1-9/16,3/8 standard socket
1-10mm,1/4 socket
1-small pair of pliers
1-small block of wood
STEP #1.
raise car, support
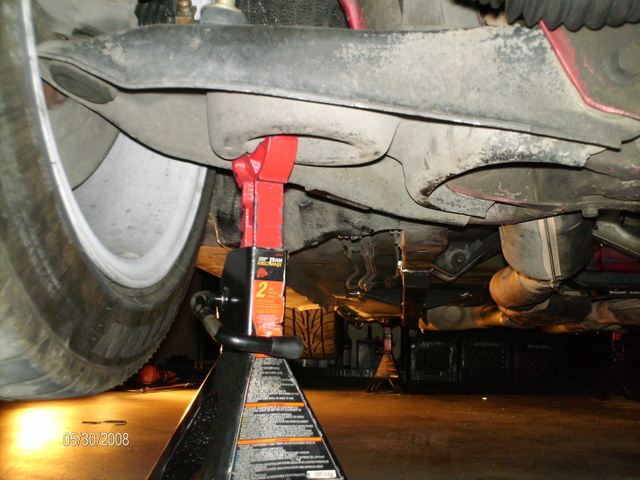
on jack stands as level as possible with the suspension loaded.up
front,place stand under control arm,at the spring pocket.
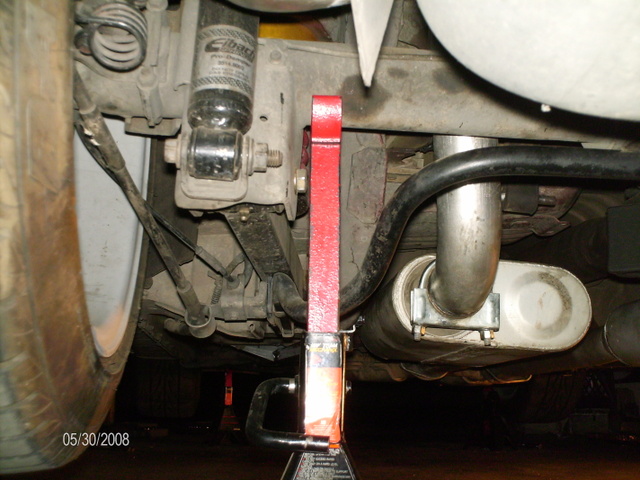
at rear,under axle tube as far at the end as you can get it.
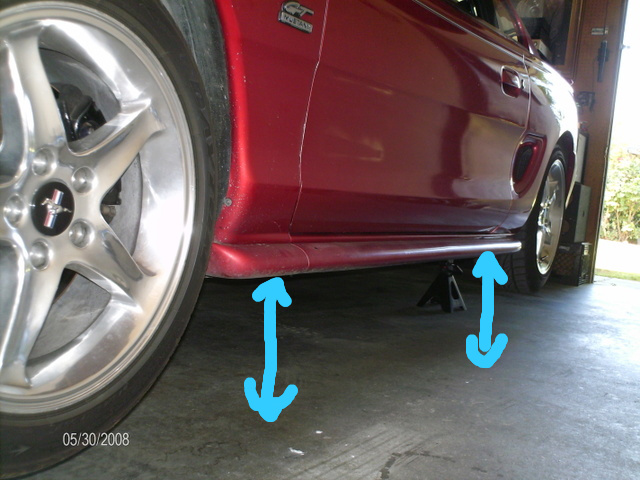
should be level with the ground at these point's(arrow's.i measured
at these point's,and from the ground to the top of the wheel opening
at both front and rear,before and after install.i got all the same
measurement's after i was done,so i ASSUME this is how your supposed
to level everything.).
STEP #2.
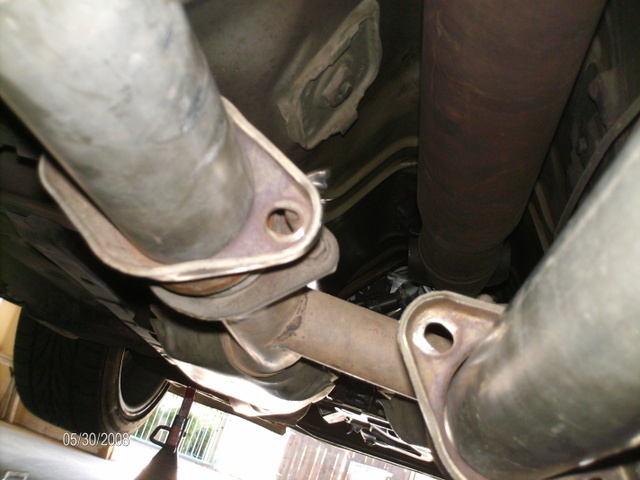
we'll need to unbolt the cat back exhaust to make room for the drill.were just going to unbolt everything and
let it hang there,not totally remove the cat back.using the 3/8 ratchet,and
9/16 deep socket,remove the four nut's connecting the cat back to
the h-pipe.
next disconnect it from it's rubber hanger,remove the little washer
thingy with small pliers,and slide out of hanger.
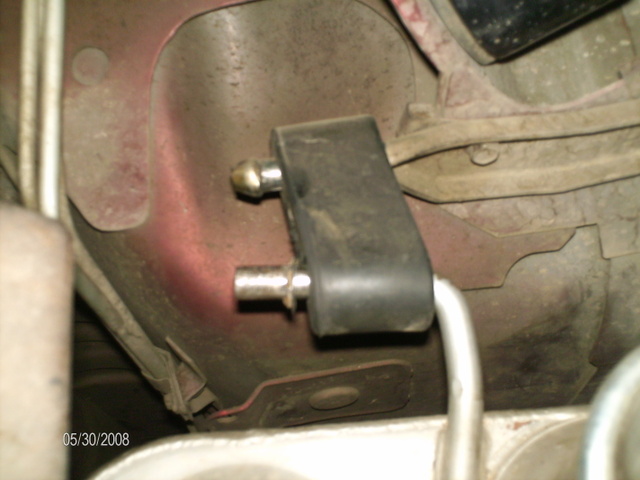
STEP #3.
remove the h-pipe.first,with 1/4 ratchet and 10mm socket,loosen clamp
at the air tube.

disconnect O2 sensors at both sides.(there are only two)
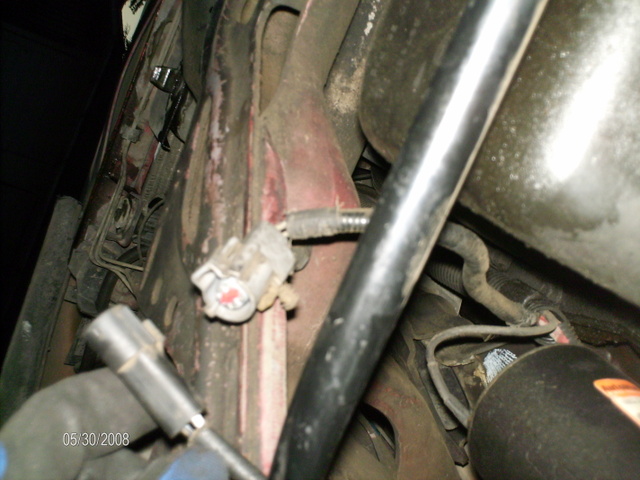
now with 22mm wrench,remove passenger side O2 sensor.
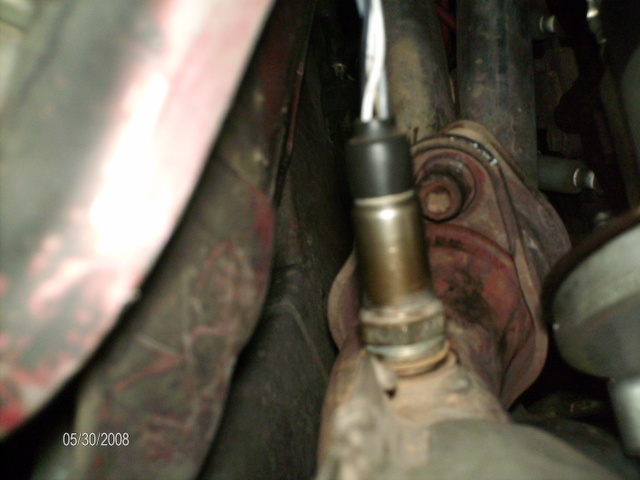
remove the four 18 mm nuts that connect the h-pipe to the headers.use
your 1/2 ratchet,long extension,and 18 mm deep socket.disconnect rubber
hangers at tranny crossmember.(passenger side shown,same for other
side)
***one of my nut's was frozen up,so i could not remove the h-pipe.i
got it loose enough to move the h-pipe around.

STEP #4.
DRIVERS SIDE FRONT sub-frame install.
using two 11/16 nylon lock nut's and your 3/8 ratchet w/11/16 socket,place
sub frame connector on car,attaching at the seat support.snug nut's
up.
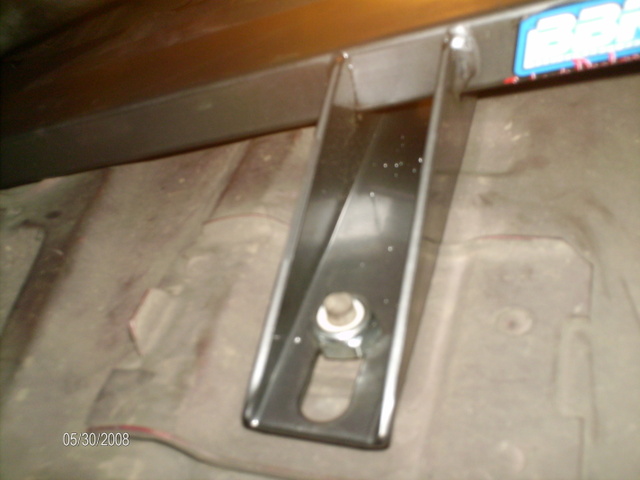
with slanted side to front of car.Drill holes,front first
A.with your jack and a small block of wood,apply pressure from below
to bring sub frame connector as close to the frame as possible.
B.with the 3/8 drill bit.drill first hole,then place bolt in first
hole.drill second hole.
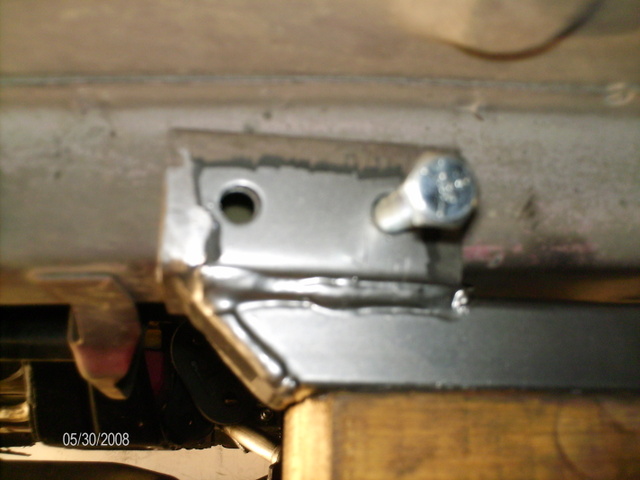
C.now from under car.drill out the holes on the other side.(sorry,no
pic)
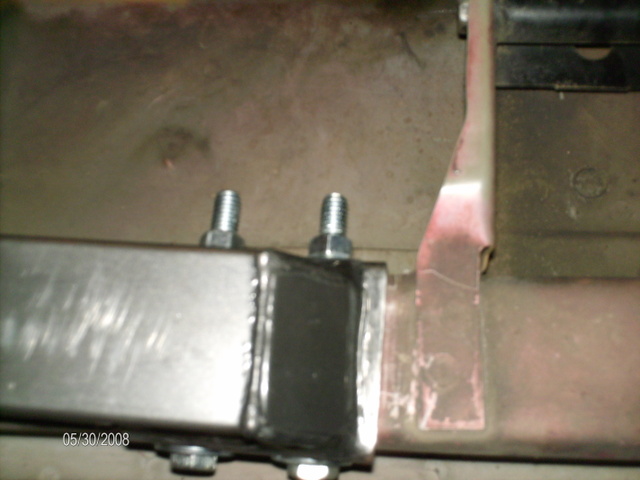
D.after all hole's are drilled,using supplied hardware.place large
washer on bolt,slide bolt in from outside the frame rail,place split
lock washer first,followed by the nut.tighten everything up using
your 3/8 ratchet,9/16 standard socket,and 9/16 wrench.thats it for
the front,lets move to the rear.
STEP #5.
DRIVERS SIDE REAR.
same procedure as front.
A.place jack w/wood under sub frame connector,apply pressure.
B.using drill w/3/8 bit,drill out the two outer holes.go slow and
apply even,medium pressure.there's a lot of metal to go through here.take
your time.change drill bit as necessary.
***you will be drilling at an angle,it's O.K.when we drill the other
holes from under the car,use the drill to line up all the holes.
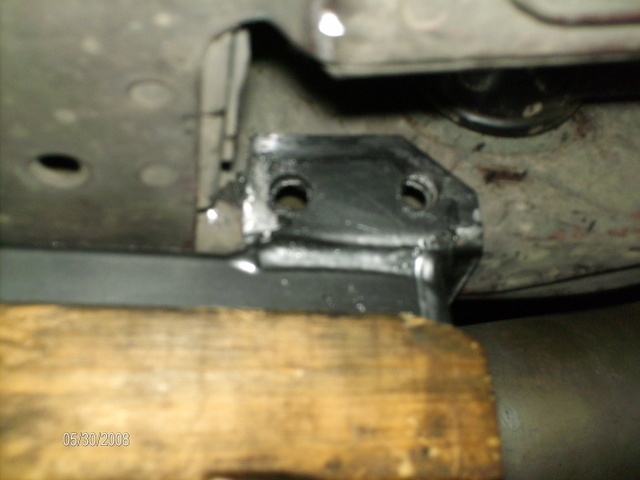
C.from under car,drill inner holes.with drill,go all the way through
to outer holes to clean them up and line up the holes.
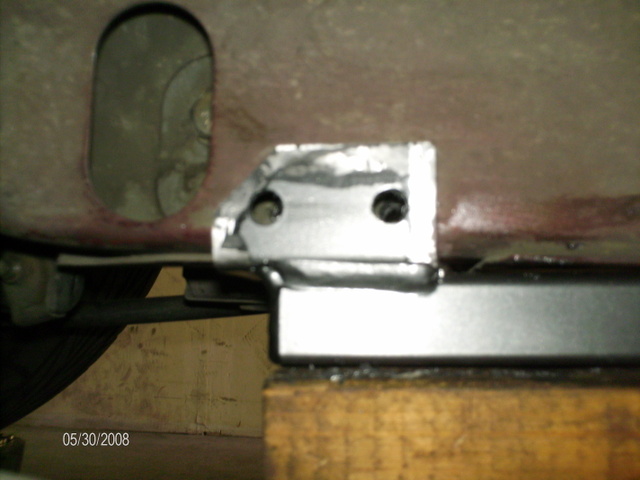
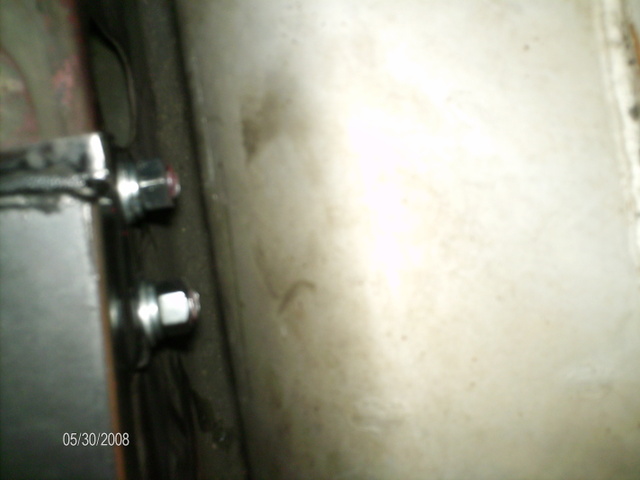
D.install bolt's.from outside frame rail,slide large washer onto bolt,insert
in hole,place split lock washer on bolt,finally the nut.with 3/8 ratchet,9/6
standard socket and 9/16 wrench,tighten everything up.
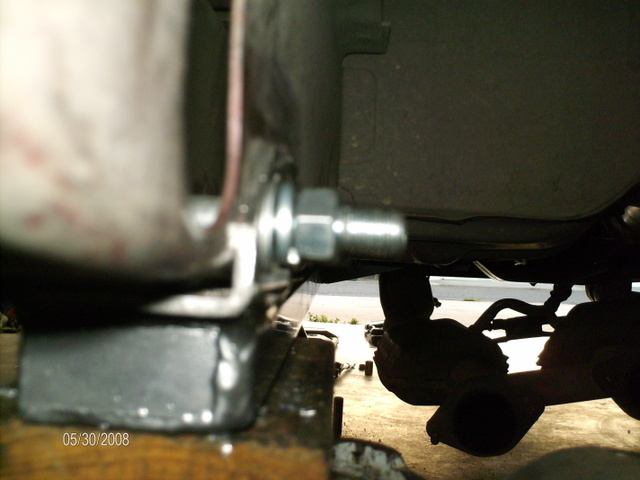
E.with hacksaw,cut off excess threaded portion of bolt,as you can
see it's a tight fit(in hindsight,i guess i could have installed the
bolt in the other direction and skipped this step)
STEP #6.
PASSANGER SIDE sub frame install.
***********repeat drivers side procedures for passenger side************
STEP #7.
after passenger side sub frame connector is all buttoned up,reinstall
h-pipe.snug up four,18 mm nuts,reconnect h-pipe to rubber hangers
at tranny crossmember.tighten up the four,18 mm nut's
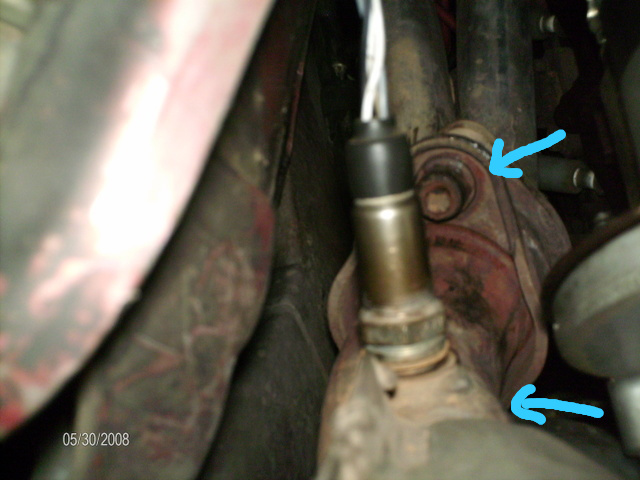
connect air tube,tighten 10 mm nut at clamp.

reinstall passenger side O2 sensor.tighten with 22 mm wrench.

reconnect both O2 sensors.

reconnect your cat back,snug up the four 9/16 nut's,but don't tighten
yet.
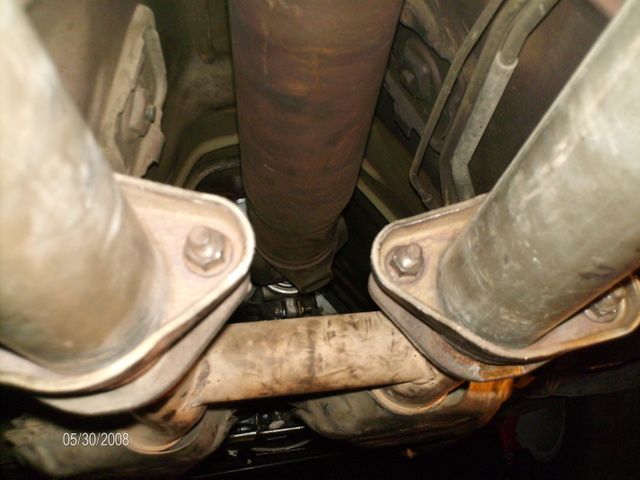
place cat back in rubber hanger,reinstall the washer thingy.

adjust your tailpipes.make sure they are even at the bumper.also ensure
they are not touching the body anywhere under the car.
tighten up cat back to h-pipe nut's
go over everything,make sure every thing is properly connected
tighten up all sub-frame connectors bolts.
STEP #8.
lower car.that's it.when i drove the car home,it felt much more solid.also
did not creak when making turns.
here are some pic's of everything all buttoned up.
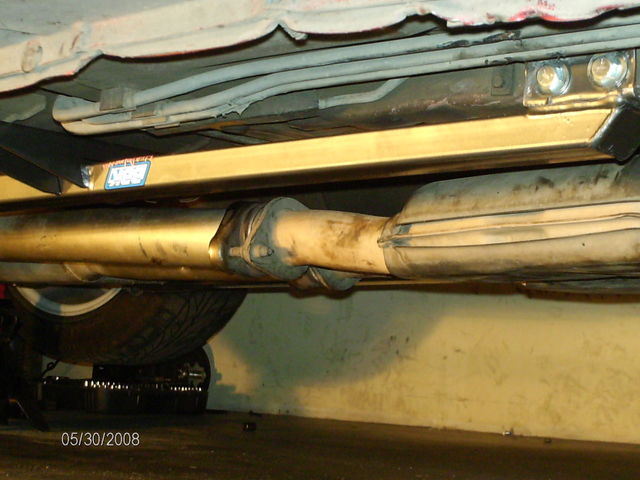
on the ground.
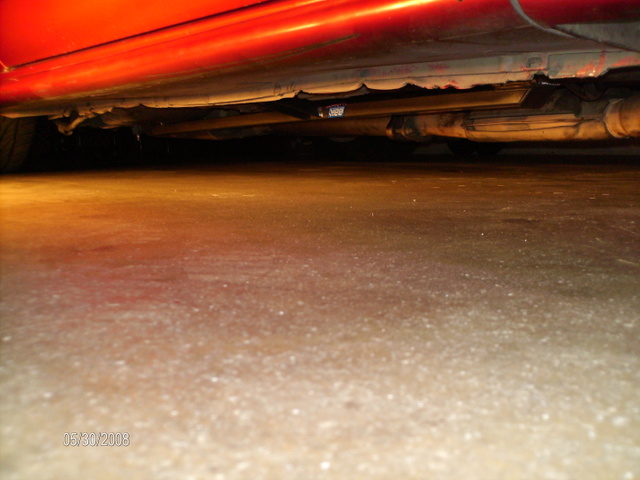
found @ http://www.stangnet.com