|
|
||||||||||||
|
|
|
Westchester Web Design |
Tools Needed:
Drill (Electric preferred)
Dremel Rotary Tool
Dremel Sanding Bands
(60 / 120)
511E EZ Lock Finishing Abrasive Buffs - 180 & 280 grit (2 Pack)
512E EZ Lock Finishing Abrasive Buffs 320 Grit (2 Pack)
Wire Brush and Wire Sander (Fine) w/ Shank
Sanding Block w/ various sand paper (180-420)
Cotton Buffing Wheel (Wide or Narrow)
Tripoli Compound
Mothers Metal Polish
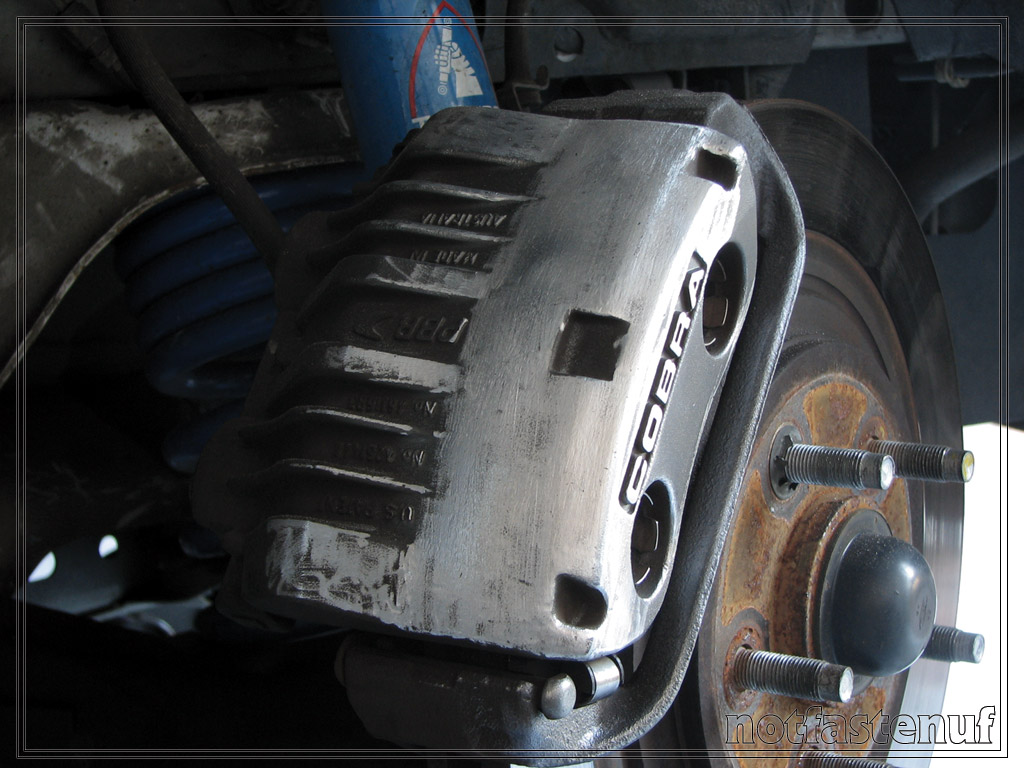
To begin with, I conducted all my necessary brake upgrades before polishing the calipers (except my first corner). Russell steel brake lines, Brembo blank rotors and Hawk HPS pads were installed prior. I tried doing the polishing while the caliper was off but didn't feel as stable as when it was bolted in.
Be sure to at least wipe the calipers off from road grime and/or grease. I did this prior to beginning the polishing process. I began using the wire wheel on the calipers to eliminate any remaining grime and dirt. Work back and forth slowly, but with some muscle.
Next, I used the Dremel with various abrasive sanding bands (60/120) to remove the casting finish. You can use a sanding block to supplement on this step but just keep in mind it will take longer. I used both, with the sanding block second. Any deep marks you make from lingering with the buffs will have to be sanded / buffed out smooth. I used the sanding block for the main final finish after the sanding bands because it's a larger area. There were several gouges on each of the four calipers that needed to be removed too.
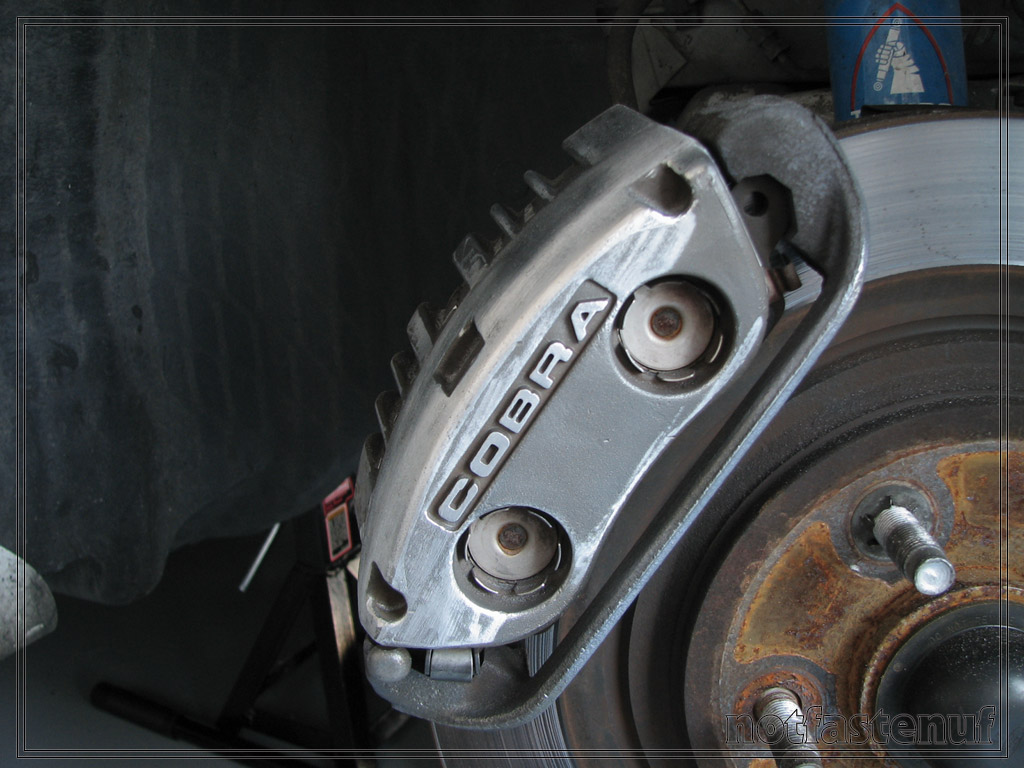
The next stage in the process is buffing the caliper down with the 180 grit buffing wheel or sanding block and working your way up to 280/320 range. You will really start to notice the difference with the color change and texture – taking your time on this stage is crucial in getting the caliper to feel smooth. Again, use the sanding block with a very fine grit paper - 320/400ish. When finished with this, wipe down with a dry towel to remove particles.

Next, is the initial polishing with the tripoli compound. You will see here where the missed spots are that need to be re-sanded / ground down. They hold the tripoli and you will seen the uneven areas. I concentrated on the main face and top area of the caliiper. My first caliper took the most time because of trial and error on corrections.
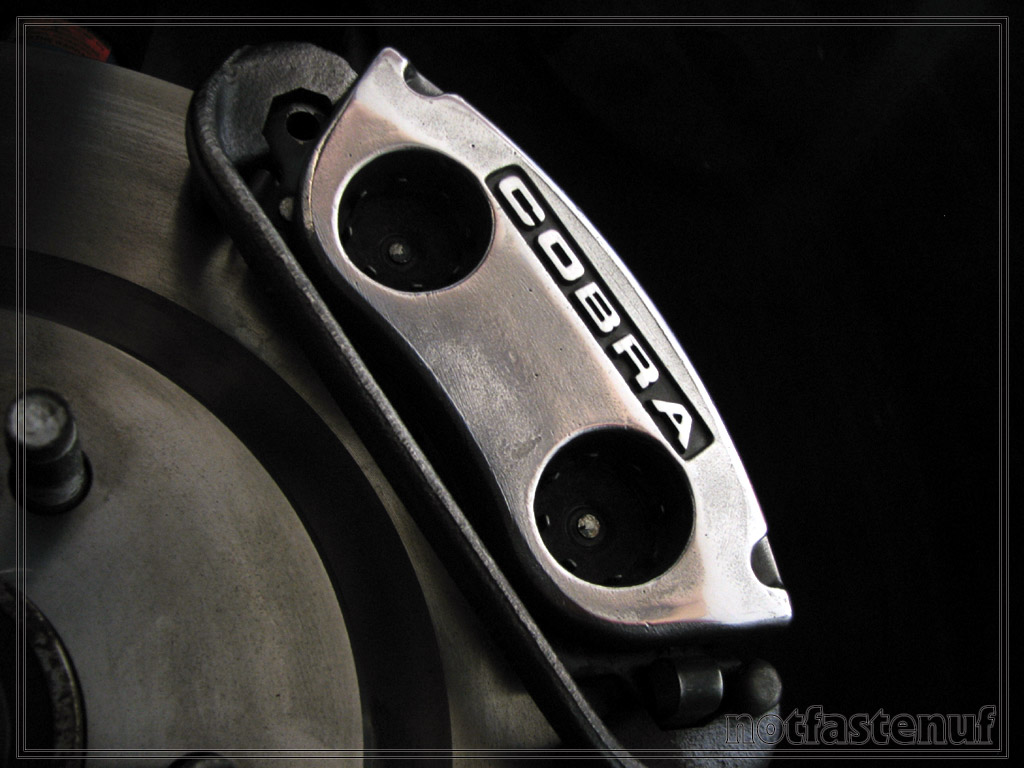
See all the porous spots on the caliper...

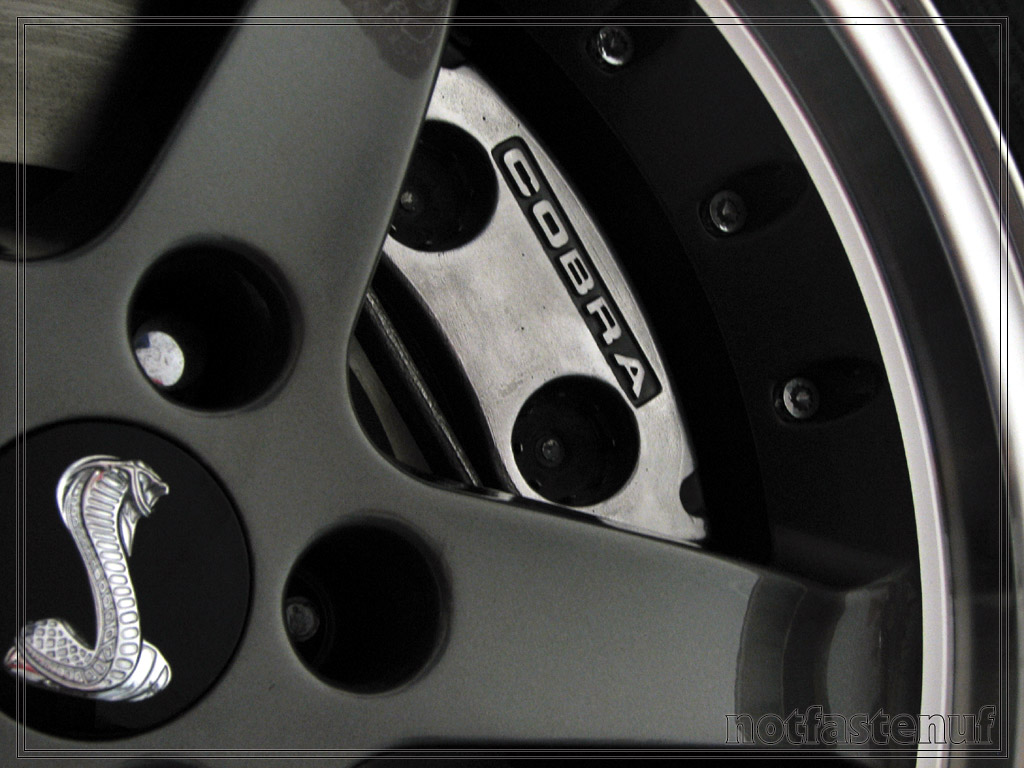
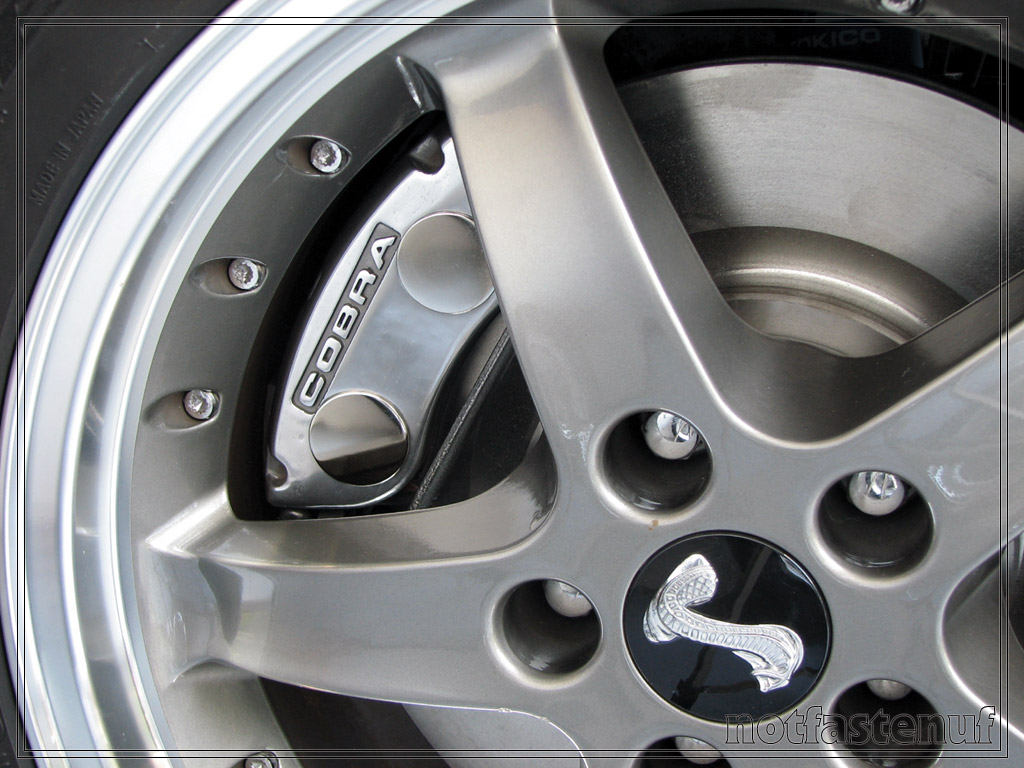
To get a high shine on the calipers, I used a wide cotton buffing wheel. At this point you will see why the previous stage is so important. There were several spots on each caliper that I had to go back over a few areas. If the areas were not completely flat they will trap the Tripoli compound and appeared dullish.
Everything can be found at
Home Depot and getting in there with some simple green while everything
is torn up is not a bad idea either. Comments / Suggestions welcome.
tyler.m.wolfe@gmail.com
Write-up
by: notfastenuf @ mustangworld.com |